Showing posts with label Jolly Liselle. Show all posts

Thursday, June 16, 2011

NICI New Clothes Day

Today is a special day, NICI-Mania calls it New Clothes Day. Our nici toys received a gift, a cute baby clothing (Thanks mom!) and every plush is so excited as we will decide who gets to wear it.

Without hesitation, our dumb hugo wolf went in first to try out the new clothes and got stuck at his nose. Its too small for 50cm hugo wolf..

Immediately after, nici snow reindeer quickly grabbed the new clothing from hugo and put it on. Looks like its too big for 25cm snow reindeer..

Along came 15cm NICI Pug and everyone was in exasperation by his dumb actions. Well, look at the picture you see..

A savior came along, it was nici raccoon who then exclaimed: 
"This new clothes will fit a 35cm nici!"

NOT...it couldn't get past nici raccoon's head

HAHAHAHAHA..Sheebo and reindeer laughed their asses off as Rob bangs his head in humiliation.

NICI lion stepped up to put on the new clothes and asked in a sanguine disposition, "How do i look, BABY?". Ermmm you don't seem to fit the clothing very well Paul.

Jolly Sheebo came shouting, "Gimme the clothes, I'm sure i can fit just nice!"
Everyone faints and couldn't stop laughing especially Rob raccoon who laughed uncontrollably.

Jolly Sheebo: WHAT? Rob Raccoon: Next time don't laugh at me first! HAHAHA

Then came Jolly Liselle
Liselle fitted perfectly in the new clothes!

Its like a match in heaven for Liselle but something seems to be missing..

The new clothing isn't complete without a nice pair of shades!

NICI Jolly Liselle new transformation complete!

Jolly Liselle is the lucky nici sheep today to get a set of new clothing. Hope you enjoyed this entry!
 .
.
- Sample gallery of Jolly Liselle with her new clothes -

Liselle looks beach-ready anytime! Get your nici friends to come along!

Fascinating about sunbathing on the lovely sands of Côte d'Azur

Jolly Liselle color sketch effect

NICI Pug who got used as a cushion to support Liselle for standing.

The funny duo nici raccoon and jolly sheebo who made this entry so interesting!

- The End -

Wednesday, May 25, 2011

Growing Rosemary Plants - Rosemary Plant Care

Growing Rosemary Plants
Rosemary plant is an attractive evergreen shrub with needle-like leaves and brilliant blue flowers. Rosemary plants are also commonly used as ornamental plantings in the landscape. The flower part will probably never happen on our rosemary plant but this beautiful herb is noble not because of its aesthetics but because of its sublime fragrance for seasoning meat, especially lamb and beef. Growing rosemary plants is a simple gardening chore, they do not need much care. Rosemary plant can simply rely on the strong humid weather to survive, which is one of the specialty for countries here near the equator but apparently our rosemary doesn't exactly like the hot weather here. A few months ago, our rosemary plant almost died while we were cooking beef stew (dying rosemary plant picture here) but it somehow miraculously revived itself.

Strange as it may be, but we are not going to debate why our rosemary plant is still alive. The consistent rainy days in the past couple of months could be the main reason giving our rosemary plant  enough humid and moisture. Not until recently the weather is going through some drought period with extremely high temperatures which is not a good sign for our rosemary plant but we'll see how it grows.

Growing rosemary plants indoors is a big challenge as every rosemary plant loves sunlight, that is why you see our rosemary decided to start growing in another direction which is towards the sun.

Rosemary Plant Care
We are by all means no expert in growing rosemary plants but Jolly Liselle here is going to show you NICI-mania's Rosemary Plant Care 101.

Ingredients you will need:
1. Water in spray bottle
2. Organic fertilizers
3. Small shovel
4. Lots of sunlight
5. A caring heart

Jolly Liselle is now spraying some midst to the rosemary plant. Using a spray bottle ensures that we do not over-water as rosemary plant unlike basil, don't like to be flooded. Carefully spray a few times.

Organic sheep fertilizers are most recommended for growing plants that we eat, in this case the rosemary. Jolly Liselle is a nici sheep, so it is most perfect for her to give us some 100% natural and pure organic sheep fertilizers. 1..2..3...poop!

Liselle, one is not enough. Can you try harder for us?


1
.
.
2
.
.
3
.
.
poo poomp

Great job liselle!


Its definitely not Jolly Liselle's poop on the rosemary plant. Buy a pack of organic sheep fertilizers which cost $2-4 per pack. These organic sheep fertilizers are great for growing rosemary plants, it is a mandatory investment in rosemary plant care.

The plus side, these organic sheep fertilizers aren't very costly and you are only required to give it to your plant once every fortnightly (2 weeks) each time ranging from 3 to 10 pieces depending on the size of your plant. In our rosemary case we gave it 3. We have a big pot of basil plant and that gets 10 sheep fertilizers.

Next, Jolly Liselle adds some soil to cover up the fertilizers nicely.

Neatly fertilized rosemary plant

Who wants to play water gun with our nici sheep?
Liselle sprays some water on the newly added dry soil

Let's put more deco on our rosemary plant! We have jam and cookie here.
Garden pick selection from Daiso! Our favorite source for gardening materials.

Jolly Liselle picked the cookie to go with the teapot for the rosemary plant. Tea+cookie equates to a nice tea break, its a perfect match in heaven.


Rosemary Plant Care after notes:
Terra cotta pots are a good choice for rosemary plants, these pots allow the plant to dry out faster. The pot we use here came together with the rosemary plant when we bought it. Rosemary prefers to remain dry, so do not water them like you do with other plants; Water your them delicately with spray bottle when the soil is dry and allow the rosemary plant to dry out between watering intervals. Even indoors, rosemary plants require lots of light, so pick the perfect spot in your house.


Trimming Rosemary:
Trimming rosemary will help make a bushier plant. Herbs love being trimmed every now and then, especially plants like rosemary that is used for flavorings. The general rule for trimming rosemary is not to take more than one-third of the plant at any time and make the cut just above a leaf joint. Same concept applies to basil plant too. Always use a scissors, do not pluck your rosemary plant. They die if you pluck them, they grow more if you cut them.


Wonder where our rosemary plant is planted?
.
.

Hope you enjoyed our growing rosemary plant care edition with Jolly Liselle! She enjoyed it!

Tuesday, January 25, 2011

Thai Green Curry Recipe (How to Cook) by Jolly Liselle

Today Auntie Jolly Liselle is going to teach us how to make Thai Green Curry easily at the comfort of your own home. It would taste as good if not, better than any Thai restaurant plus minimal abuse on your wallet. Perfect for those who have to juggle work and cooking for your family.


Let's get started! First of all, get a pack of green curry paste. This is the core of the whole dish. We have tried 2 different brands so far and our conclusion is any brand of green curry paste will work the same magic.


Usually we blend our own curry paste, but if you buy a ready made packet like this, they save you the time and trouble to blend all the lemongrass, green chili, shallot, garlic, basil, brown sugar, etc.. Let's go through the rest of the ingredients!


Here's what you need. 400 grams of chicken thigh meat, probably about 300 grams left after removing the bone, fats and skin.


About 300 grams of eggplant, way over the recommended quantity but we love more vegetable.


A packet of coconut milk 2ooml


Lemongrass, which is of course optional. Most people add Kaffir Lime leaves and/or Basil.


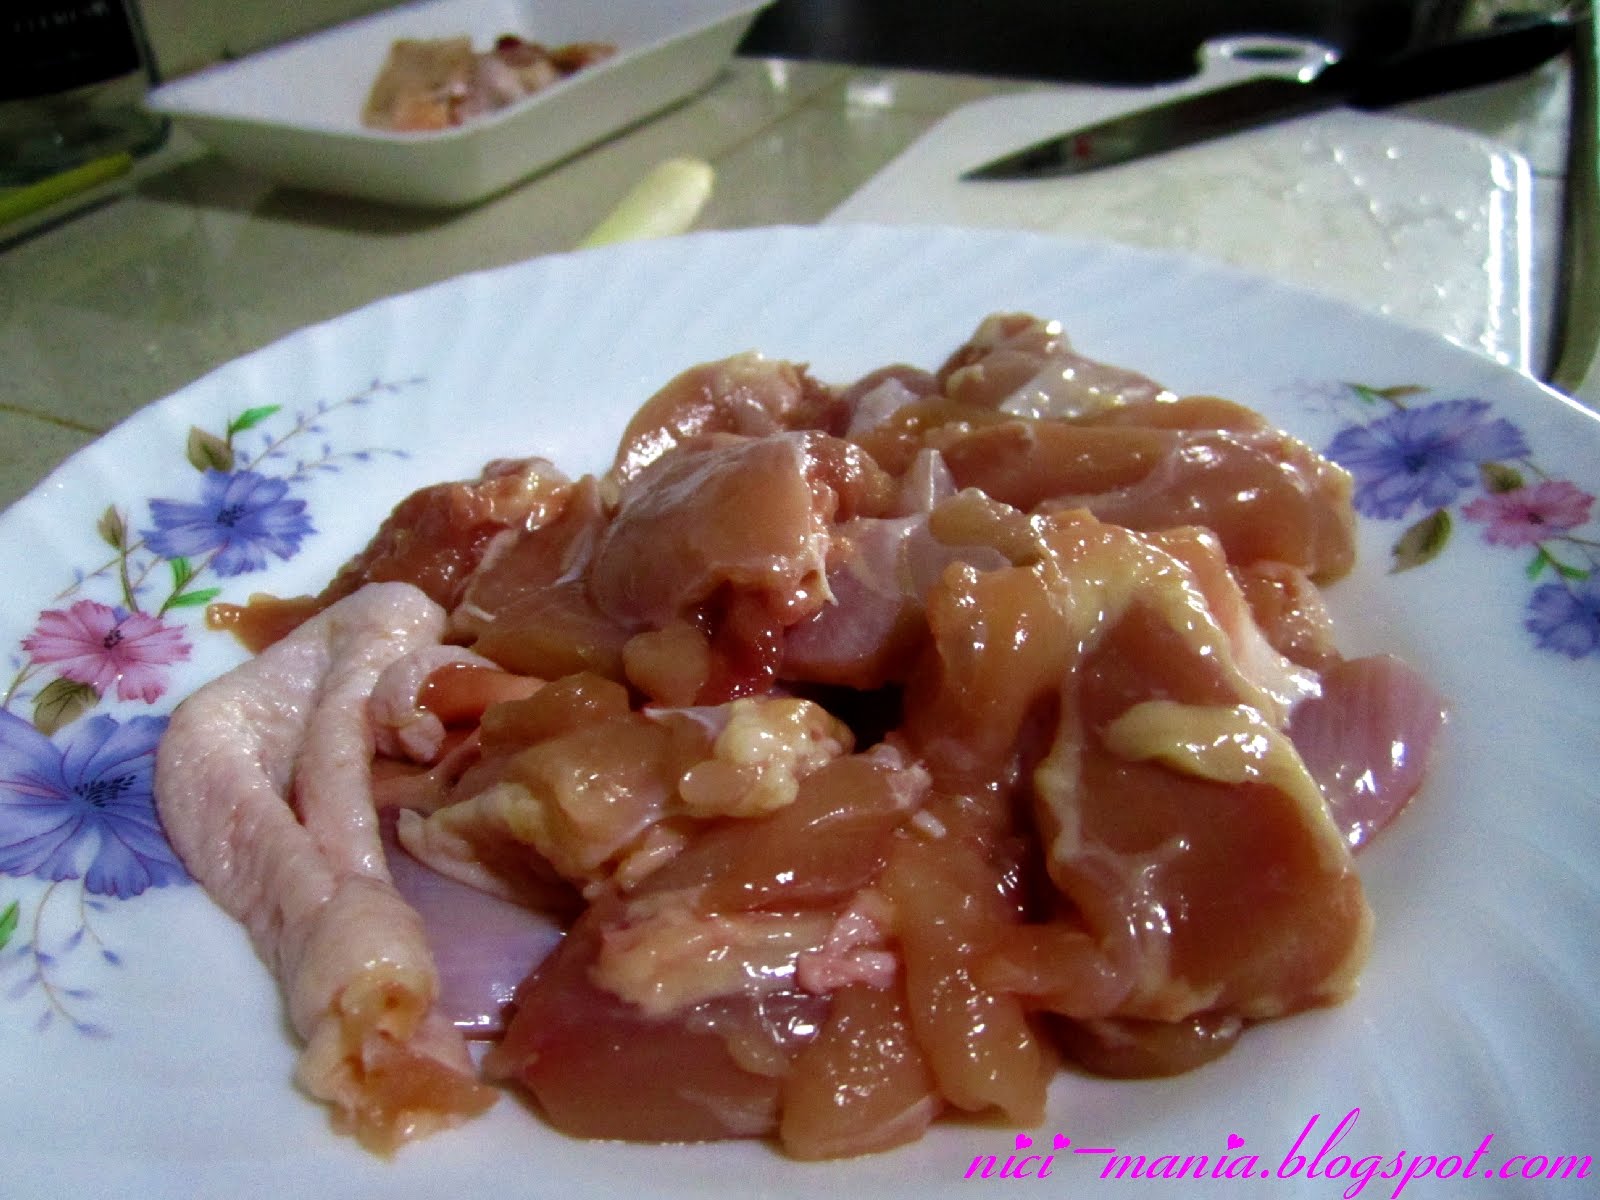
Chicken thigh meat is very easy to debone as there is only one vertical piece of bone in the middle. Chop up the meat into 2 inch dice. You want the meat to be bigger in size as it takes time for the eggplant to cook. Remember to remove the chicken skin and keep it!


Cut off the upper, greener part of the lemongrass. Keep the lower stalk and squash it with your knife so that the aroma will leak out more easily into your curry.


Chop up the eggplant in any fashion you like.


Heat up the pan real nicely and put in the chicken skin you kept just now. Look at the amount of oil the skin produces under high heat. You do not need to add any additional oil and the chicken oil itself adds more flavor to your green curry.


After the chicken skin is browned nicely, add in the green curry paste and stir fry. Adjust to medium low heat as you need to add in the coconut milk later.


After you feel the smell of the green curry spices swirling around your kitchen, you can add in half of the coconut milk (about 100ml) while stirring it nicely into the mixture. It is important to keep the fire at medium low heat

Coconut milk should never be boiled over high heat as the milk and water mixture will be separated during high temperature, which will be very undesirable.


Add in the lemongrass and continue frying in medium low heat. We spontaneously added a few chopped chili padi to make it extra spicy! :)


Here comes the eggplant first..give it a nice stir, fry them around..


Then comes the chicken. It is usually the other way round, which is chicken first then eggplant but we don't like eggplant to be too raw.


Fry them up real nicely for a few minutes.


Then add about 300ml of water.


Cover the lid and simmer for about 7 to 8 minutes. It will boil but not rapidly, just a soft boil under medium low heat.


Then add in the remaining 100ml of the coconut milk, stir well. The soft boiling will cease when you add the coconut milk, let it stay that way.


And here's our favorite part, Thai Fish Sauce! No Thai food is complete without the legendary fish sauce. We use just about any brand, no particular favorite although some really taste better but fish sauce is just an enhancement.


We add about a teaspoonful and it's done! Simple isn't it?


The fragrant smell of the green curry attracts another Nici plush...

It's Jolly Rosa! :D

Jolly Rosa: "wow, i'm hungry!"


Here's the breakdown of our Thai Green Curry recipe today (for 3 to 4 pax)

1 packet of Green Curry paste
300 grams of chicken thigh meat
300 grams of eggplant
1 stalk of lemongrass *optional*
200ml of coconut milk
300ml of plain water
1 teaspoonful of fish sauce

It taste so good and it is so easy to cook, we give ourselves for it ^_^


♥ Other delicious recipe by Jolly Liselle ♥

or you can check out our RECIPE page