Friday, May 31, 2013

Garlic Prawn Recipe (Fresh Prawn)

Welcome to garlic prawn recipe version 2, the fresh prawn episode! If you remember our previous garlic prawn recipe, we used cheap grey prawns but today we have very fresh sea prawns. So we decided to do a different garlic prawn recipe.

Today's main ingredient, our prawns are crazily fresh from the sea bought from a fishing village. Hugo Wolf and NICI Monkey are both extremely excited for the garlic prawns.

Prawns in love! This version of garlic prawn recipe is very very simple. Because our prawns are so fresh, we are not even gonna trim the prawn head or remove the prawn intestine because there isn't any dirty intestine in the prawns anyway. We just sprayed a teaspoon of salt over the prawns.

Let us deal with the garlic first. We dice up a whole bulb of garlic finely, then fry the garlic in oil under medium fire. Keep stirring the garlic non stop, it will take about 5-7 minutes until the garlic start turning slightly golden-brown like what you see in the picture. Turn off the fire.

With the fire turned off, it will take a minute or so and the garlic will all turn golden brown like this. Frying garlic is an art, you have to be patient go slow and stir with the flow. Garlic needs time to be fried thoroughly to be crispy and fragrant, thats why we only use medium fire.

Nicely fried garlic in oil. The most difficult part of our garlic prawn recipe is done, the rest is just a stroll in the park. Next we prepare one stalk of spring onion and chop them up nicely.

Prepare a pot to steam the prawns. Heat up the pot and bring the water inside the pot to boil. Be warned!! Prawns get cooked very easily within 3 minutes in the steamer, to get the best cooked prawns, preheat a plate (to put the fresh prawn) into the steamer first. Plates take the most time to heat up during steaming. Hence with a preheated plate, your fresh prawns will be cooked in the most perfect timing.

3 minutes has passed and our prawns are cooked. We did not add any additional water but look at the amount of fresh prawn juice that our prawns made by itself! Quickly spread the spring onions over the prawns and close the steamer lid for another 30 seconds. Heating the spring onions for a while releases its aroma.

Are you wondering what happened to the garlic in our garlic prawn recipe? 

Garlic goes last into our garlic prawns. We only poured half the fried garlic in oil over the prawns, you can add your one whole bulb of fried garlic into the prawns but that would be too luxurious! We conservatively kept half of our fried garlic in oil for future use.

This pure prawn sauce from our garlic prawn is so full of prawn sweetness with a hint of spring onion and a strong garlic aroma. It taste so good only because we used fresh prawns from the sea.

Yum yum, Hugo Wolf wants a bite of the garlic prawns too! The freshness of the prawn is just unbelievable and the prawn meat's texture is almost like crab's meat! Of course for those who live near the sea, you've been eating fresh prawns and fish everyday and won't feel our excitement.


Hope you enjoyed today's simple garlic prawn recipe with fresh prawns brought to you by Hugo Wolf and NICI Monkey!

Garlic Prawn recipe
Ingredients for 2 pax
- 7 huge fresh prawns from the sea
- 1 stalk of spring onion
- 1 bulb of garlic
- 1 teaspoon of salt and some oil

How simple than this can a recipe get? Go buy some fresh prawns and cook garlic prawns now.


Tuesday, May 14, 2013

Canon EOS 5D Mark II??

a Canon EOS 5D Mark II dslr camera??

We can't see the picture properly..The Canon EOS 5D Mark II is equipped with 24-105mm L lens! Are we dreaming?

NICI Little Rocker Wolf ponders in curiosity.

Little Rocker Wolf opened the box gingerly..

He tries to take a picture with the Canon EOS 5D camera but it is not working..

What?! A thumb drive in disguise! We would absolutely love to own a real Canon EOS 5D MarkII with 24-105mm L lens, its a dream camera..

This cute Canon EOS 5D thumb drive makes a great gift for your friends or family! Off it goes to the new owner!

Sunday, January 20, 2013

Century Egg Porridge Recipe

Sorry for the long break, NICI-Mania is back! Today we are introducing the Century egg porridge recipe! In dialect, century egg porridge is called "pi dan zhok".

Whats unique about century egg porridge is this! Century egg is a type of preserved duck egg, the color is brownish-greyish. Nowadays century eggs are made with chicken eggs too because of the cheaper cost. Notice the little snow flake or pine branch shape on the egg, that is one of the special features of the century egg.

Unpeeled century egg on the left and peeled century egg on the right. The most distinctive thing about century egg is the smelly ammonia odor, which is probably the reason why we grew up hearing urban legends that century eggs are made by preserving it in horse urine! We prefer duck century egg because the smelly odor is much stronger and the yolk texture is creamier.

Century egg was once featured in Fear Factor in the exotic food segment. Can you imagine how surprised we were when we saw it on Fear Factor and how funny it was looking at the contestants eating the century egg like it was some worms or cockroaches. We like to call this, the blue cheese of eggs! And frankly speaking, if you love blue cheese like us, century egg's odor is much easier to accept than blue cheese.

Cooking century egg porridge is not as easy as cooking normal porridge. This is a type of Cantonese porridge and the special thing about Cantonese porridge is that the rice should be cooked until you don't see grains of rice in the porridge anymore and the porridge must be real smooth and buttery.

This is our grandmother's authentic century egg porridge recipe. Very troublesome to cook but the taste is much better than anywhere else we have eaten. 

First and foremost, the rice must be prepared the night before. Wash 2 cups of rice, then drain away most of the water and pour in about 2 tablespoons of cooking oil, stir evenly. Soak pot overnight. Soaking in oil is to enhance the smoothness and buttery texture of the porridge.

Next day morning, prepare 2 salted eggs. Salted eggs are BFF (best friends forever) with century eggs. Wash it thoroughly, you can even scrub the salted egg, just make sure the shell is immaculate.

Prepare about 200 grams of minced meat. Marinate it with 2 tablespoons of soy sauce, 1 teaspoon of sesame oil, some pepper and some corn flour to make the minced meat more tender.

While your pot of porridge is brought to boil, chop 2 thick slices of ginger and add it into the pot. As soon as the porridge starts to boil, switch to low fire and keep stirring every few minutes.

Add in the 2 salted eggs with shell on into the pot to cook together with the porridge. That's why we reminded you to wash the salted eggs clean earlier. You may boil the salted eggs in another pot but this is our grandmother's style of cooking the salted eggs.

The continuous stirring is what makes cooking the century egg porridge quite a tedious task as you have to remind yourself to keep stirring the porridge while you prepare the ingredients. This process takes about 45 minutes while cooking normal porridge only takes 5 minutes of boiling. You should remove the salted eggs after 10 minutes of boiling. If you find the porridge is too creamy, it is advisable to add more water.

Notice our pot of century egg porridge has nothing in it after cooking for so long but look how smooth and creamy our porridge has become! Now when the porridge is ready, its time to start adding ingredients for example the minced meat first.


Chop the salted eggs into half with a knife, its much easier than peeling the shell. Take one of the salted eggs, dig it out from half the shell in cubes and add them into the porridge.

Finally we add one century egg into the porridge. You don't need to cook the century eggs, they are eaten raw. Now you can start adding salt and any seasoning you want into the porridge. You may use some chicken stock power to give it more flavor but our grandmother uses MSG.

Slice up the other century egg and salted egg. Dice some spring onions, chinese coriander leaves and cut the ginger in long thin shreds. Set these ingredients all in one plate, they are to be used to dressing and toppings for the century egg porridge.

Chop up the garlic and fry them in oil to make crispy garlic oil. This is a mandatory as it makes the century egg porridge so much tastier.

Scoop a bowl of century egg porridge from the pot, top it with spring onion, coriander, ginger, garlic oil, more century egg, salted eggs, some soy sauce, sesame oil and pepper. Your century egg porridge is done.

Century Egg Porridge
Ingredients List (for 4 to 5 pax)
2 cups of rice
200 grams mince meat
2 century eggs
2 salted eggs
1 bulb of garlic
1 piece of ginger
2 stalks of spring onion
2 stalks of chinese coriander leaves
Salt
Pepper
Soy Sauce
Sesame Oil

Optional:
MSG seasoning
Chicken stock powder
Hope you liked our century egg porridge recipe today!

Tuesday, November 13, 2012

Taipei - Shida Night Market

Hi there! It's Jolly Rosa! We are back at Taipei! Previously, we stopped at Taipei Tamsui part 2. Continuing NICI-Mania's Taipei trip, let's go!

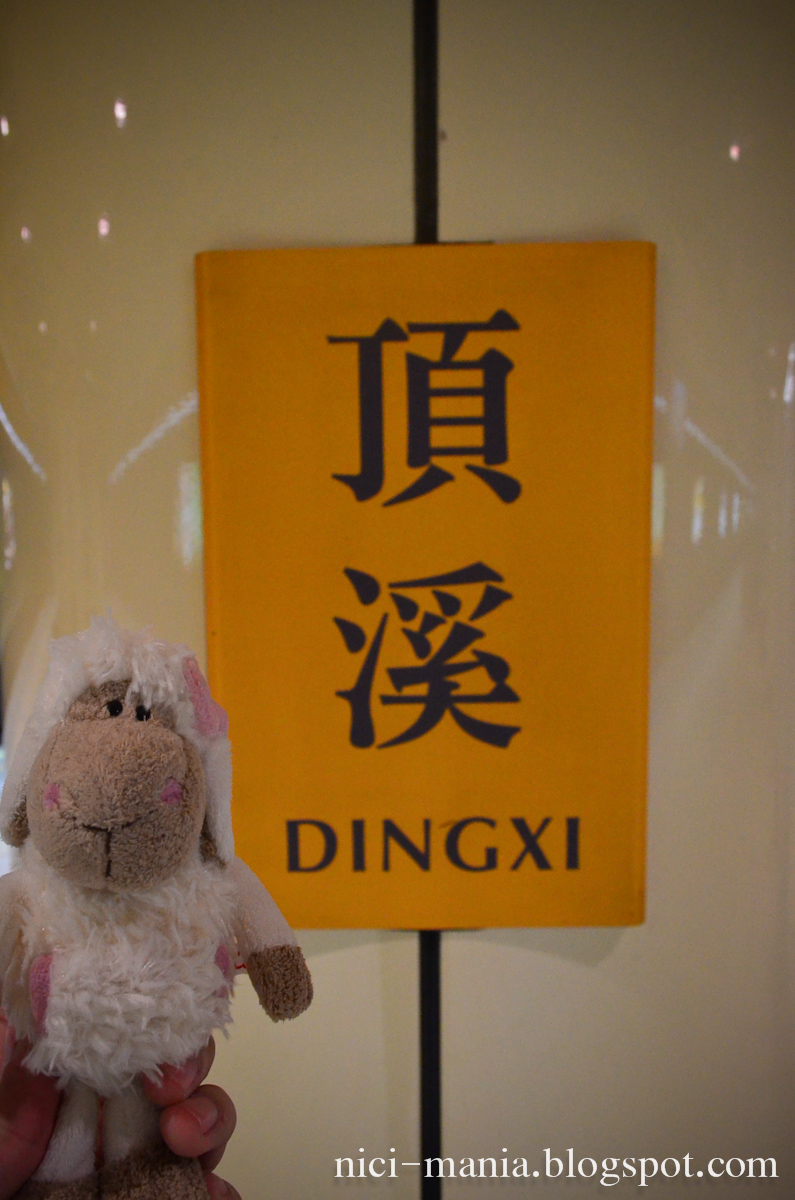
It's a weird maze of interconnecting loop chained mrt tracks that got Jolly Rosa stuck at Dingxi station while trying to get to Shida night market. We still have no idea what happened that night.

Finally!! We got to Shida station. We saw the exit to Shida Road where the Shida night market is!!

Jolly Rosa is approaching Shida night market, we can totally feel the crowd oozing in.

Night market food! I think we have reached our destination.

Look at the immense crowd! We could hardly move around.

牛魔王!! (bull demon king in english) What an provocative name for a shop. Let's see what it sells..

It sells steak! on a hotplate with noodles and egg.

The beef steak is tender and succulent~ Delicious!

 This stall is selling pork belly buns..
err...what is that?

Stewed pork belly meat stuffed into a bun, topped with some salted vegetables and chinese parsley.

 Malaysia curry chicken?!! That is interesting. But Jolly Rosa is definitely not trying. We will cook our own home style curry chicken.

There's a stall with a very huge crowd and a numbering system on the stall. Jolly Rosa takes a number and waited...

許記生煎包, apparently is a very famous shop at Shida night market. Waited for half an hour for this steam fried pork bun! (許記生煎包 facebook page here)

This stall reads - "The Great Han Grassland". It sells BBQ lamb skewer. Jolly Rosa *opps*

Queue number again. Is this a trend here at Shida night market?

It was saturday night and overly crowded. We decided to end our Shida night market food trail with 师大鹽酥雞 (salt-pepper chicken).

Jolly Rosa takes the Taipei metro home with a full and satisfied stomach.

Next stop, the everly popular tourist spot in Taipei - Xi Men Ding